As I sit here and begin to write this blog, I can’t help but admit that my attitude towards subfloor preparation has dramatically changed over the past 20 years. Early on we didn’t always give subfloor preparation the attention it deserved. Years of training and a few bad experiences have fortunately corrected our mindset.
Our attention to detail regarding subfloor preparation has improved dramatically over the years and we continue take advantage of new tools that make our job easier. Let’s take a look at our process and gain an understanding what these steps are and why they shouldn’t be overlooked.
Step 1:
Check moisture of the subfloor and hardwood material that’s getting installed. Each of our crews is outfitted with pin-less moisture meters that are capable of recording over 60 hardwood species as well as wood subfloors. We take readings on every job including sand and refinish jobs. These readings are recorded for historical documentation purposes.
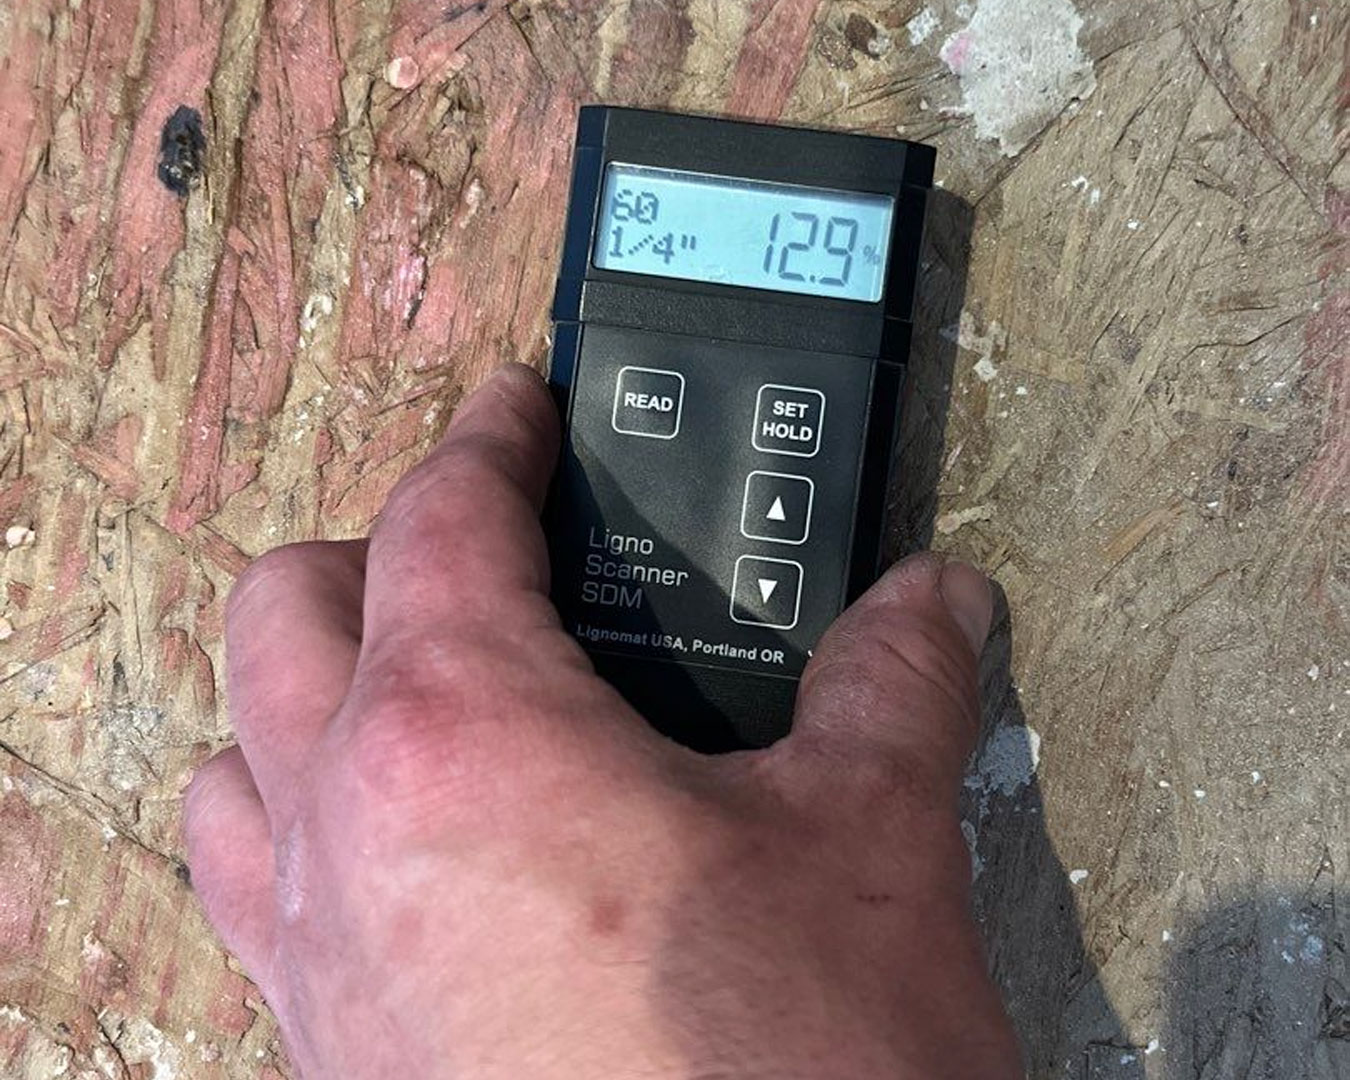
Why this step is critical: We need to make sure the subfloor is within the acceptable limits and make sure our hardwood material has successfully acclimated to the environment. If the hardwood isn’t properly acclimated, it will expand or contract after installation leading to gaps or cupping. The subfloor should also be within acceptable limits (NWFA recommends 4% strip floors, 2% plank floors) of the flooring material.
Step 2
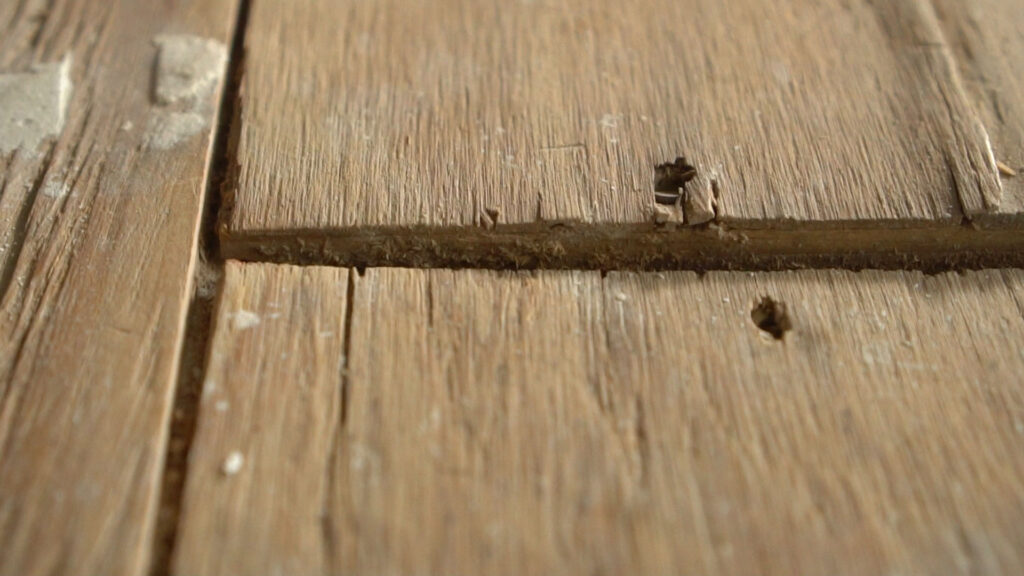
Clean the subfloor with a scraper of broom. Make sure that any screws or nails sticking up out of the subfloor are properly set. Check the floor for subfloor movement and use screws to properly secure the subfloor to the floor joists.
Why this step is critical: Squeaks plain and simple. If your subfloor moves, your hardwood floor will move. If your hardwood floor is moving, it will squeak. This is the time to make sure the entire subfloor is fastened securely.
Step 3
Use an 8’ level to check for flatness. Once again, the NWFA has set standards of ¼” over a 10-foot span or 3/16” in six-foot radius. We will use many different approaches to get the subfloor as flat as possible, depending on the situation we may sand down the plywood seams, use shims, asphalt shingles, or leveling compound to adjust low spots. Once of our favorite new tools is this copper plate from Pallmann. It works really well with our spider and quickly sands down the subfloor.
Why this step is critical: Main reason is that it will allow for a smoother and tighter installation. The time spent up front getting the subfloor flat will be made up for on the back end during the installation and sanding processes. A flat subfloor will also minimize the amount of sanding that needs to be done which also increases the remaining wear layer for our clients.
Step 4
This step will vary depending on the width of the product and the installation method. If we’re installing a strip floor, we will use an underlayment paper with the proper permeability rating. If we’re utilizing a glue-assist method or full trowel adhesive, we will not be able to use underlayment paper. In these cases, we roll on a moisture barrier that will allow us to glue directly to the subfloor.
Why this step is critical: Moisture barriers are necessary to prevent moisture from working up through the subfloor and into the hardwood floor. If there’s a moisture imbalance in your planks, they will most likely expand and cause other issues like cupping or buckling.
Summary
Without a doubt the two most common complaints we hear about regarding hardwood floors…Squeaks and Gaps. Acclimation and subfloor preparation can eliminate many of these complaints but unfortunately these steps are often skipped in a race to get the job done faster. If you’re in the process of hiring a hardwood contractor, ask them about their subfloor preparation process and make sure it’s documented in their proposal.
Our Commitment To Clients
As flooring professionals, we strive to stay educated on the various flooring systems available on the market. We stay at the forefront of new advancements in the flooring industry through continued education and training courses provided by the National Wood Flooring Association. Our knowledge enables us to educate our clients on the pros and cons of various hardwood solutions. Our job is to listen to our clients and provide solutions that best fit their lifestyles. We provide easy and stress-free installations by staying informed, prioritizing clients’ needs, and setting proper expectations.


